
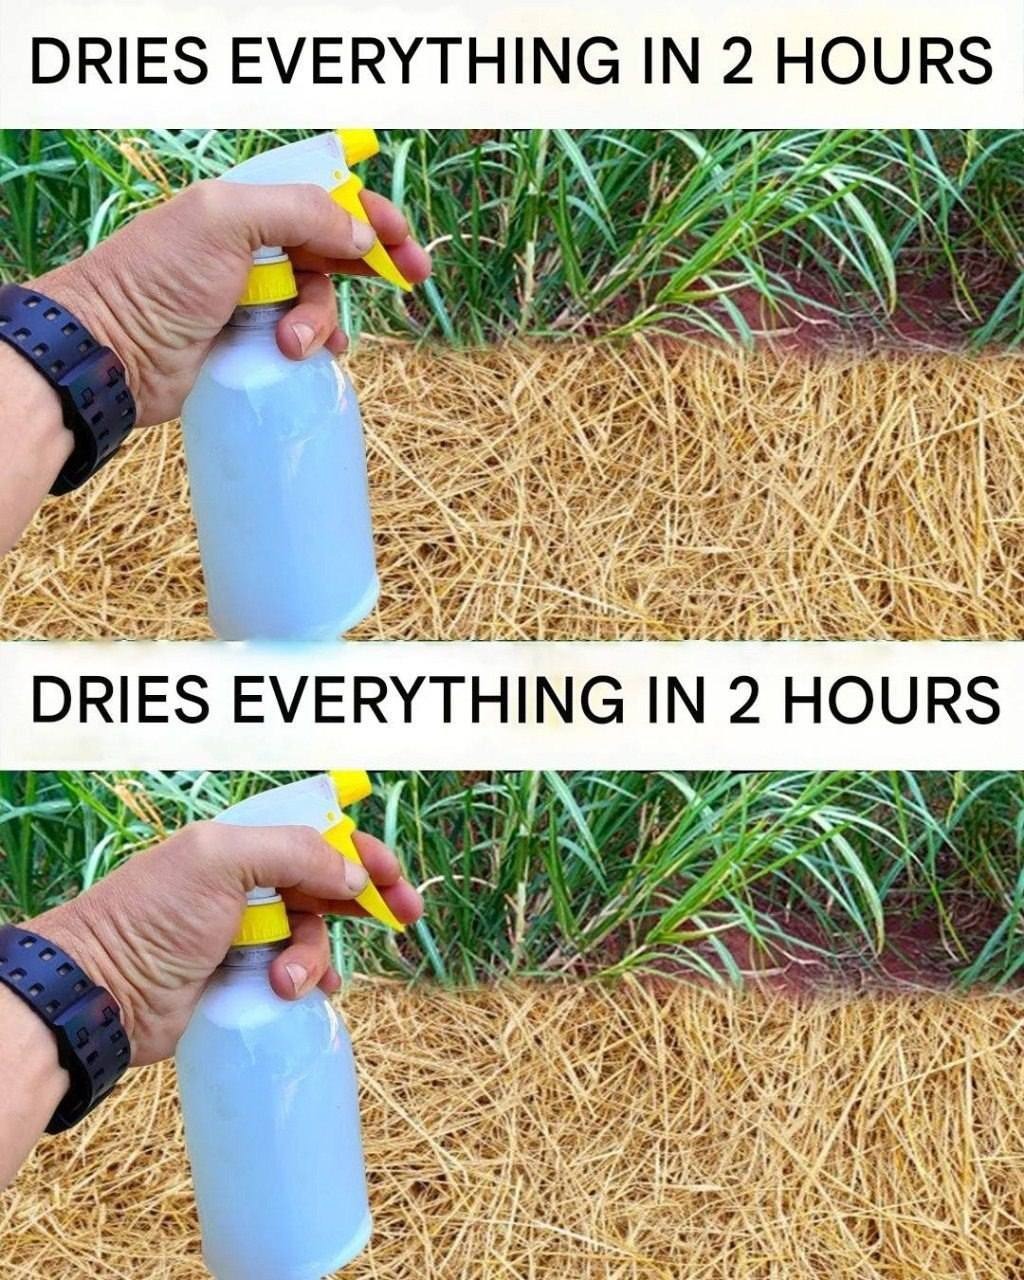
Step 1 — Measure and combine ingredients. Pour 500 ml of water into a clean container — a large mixing bowl, a clean pitcher, or directly into a large spray bottle if its opening is wide enough. Add the salt, baking soda, and dish soap in the quantities listed above.
Step 2 — Stir thoroughly. Mix until the salt and baking soda are completely dissolved and the solution appears uniform. Some foaming from the dish soap is normal. Do not shake vigorously — excessive foaming makes the mixture harder to work with.
Step 3 — Transfer to a spray bottle. Pour the prepared solution into a clean spray bottle — a pump garden sprayer works best for larger areas; a standard trigger spray bottle is appropriate for targeted spot treatment. Adjust the nozzle to produce a fine, directed spray rather than a wide mist, which increases precision and reduces drift onto desirable plants.
Step 4 — Label the bottle clearly. Always label any homemade garden preparation with its contents and date. This prevents accidental misuse and helps you track how long a batch has been stored.
How to Apply for Maximum Effectiveness
The timing, conditions, and technique of application determine whether this herbicide works well or falls short of expectations.
Choose the Right Weather Conditions
Apply on dry, sunny days with temperatures above 65°F (18°C) — ideally in the late morning or early afternoon when solar energy is strongest. The heat accelerates the desiccation process, and direct sunlight dramatically increases the effectiveness of the treatment.
This herbicide works through dehydration. Rain within 24 hours of application will dilute the solution before it has had time to work, reducing its effectiveness significantly. Check the forecast and apply when at least 24 to 48 hours of dry weather is anticipated.
Avoid windy days. Wind causes spray drift onto desirable plants or areas where you don’t want salt accumulation. On windy days, wait or apply with a more controlled method — a brush or cloth rather than a spray.
Avoid extreme heat or drought conditions — if the surrounding soil is completely parched, the solution may concentrate too quickly before penetrating effectively.
Application Technique
Hold the spray bottle 6 to 12 inches from the target weed and apply directly to the leaves and stems, ensuring thorough coverage of all surfaces. The goal is to wet the foliage completely without the solution running off excessively onto surrounding soil.
For weeds in cracks and crevices — in pavement, between patio stones, along fence lines — apply generously to both the foliage and the base of the plant where the stem meets the ground. In these non-soil locations, accumulation of salt in the crack is actually beneficial, as it suppresses future germination.
For isolated weeds in garden beds surrounded by desirable plants, use the most precise application method possible — a small spray bottle held close to the weed, applying only to the weed’s foliage with the nozzle directed downward. Place a cardboard shield behind the weed if neighboring plants are very close.
Frequency of Application
For young, actively growing weeds: A single application on a hot, dry day is often sufficient to kill the weed completely. You may notice wilting within hours and browning within 24 to 48 hours.
For established, woody-stemmed, or deep-rooted weeds: Two to three applications spaced 3 to 5 days apart may be necessary. Established weeds have larger root systems that store more moisture and are more resistant to a single desiccation event. Repeated applications exhaust the plant’s reserves until it can no longer recover.
For persistent problem areas: After clearing existing weeds, a light monthly application to high-problem zones (driveway cracks, gravel paths) can suppress new growth before it establishes.
